benjammn
New member
Hello all! Surprised to see not that many recipes on here for Salmon or fish in general. So I figured I would share mine that I have been using for quite some time that the family loves.
Pretty basic dry brine that doesn't require a lot of prep work and much time to brine in the fridge. I can't recall where I found it online but it really doesn't matter since it is completely basic and just works. Feel free to add to yours as you seem fit.
For the brine:
2 salmon fillets (skin on or off, I have tried both and it works fine either way), bones removed
1/2 c granulated sugar (I used sugar in the raw)
1/2 c dark brown sugar
1/3 c kosher salt (I tend to just use sea salt without iodine)
2 tbs crushed black pepper
Instructions
1. Prepare Salmon for Curing: The curing process removes water from the fish, and instead replaces it with the salt and sugar mixture. This adds flavor and also serves to preserve the fish and prevent spoilage.
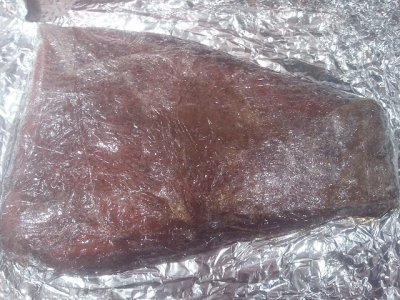
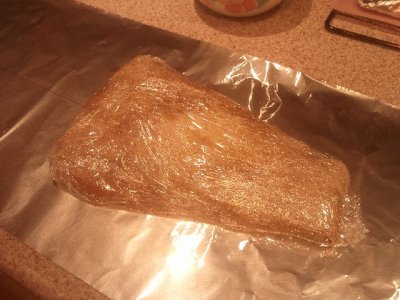
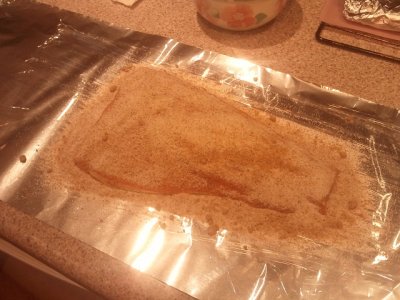
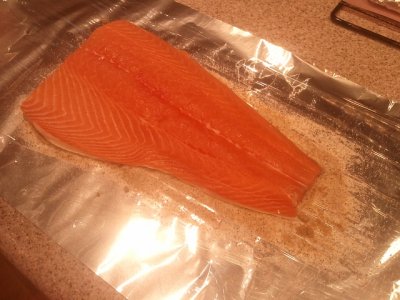
Lay a section of plastic wrap long enough to wrap the entire fillet. You might need to make a cross to wrap around the second direction tightly. Place on top of foil that is also long enough to wrap the fillet. Spread a thin layer of brine on the plastic wrap around 1/8th inch thick or so. Place fillet over that bed and then cover the surface with approximately the same amount. Making sure to get complete coverage. You may have to add extra to the ends of the fillet to get plenty coverage when wrapping with plastic wrap.
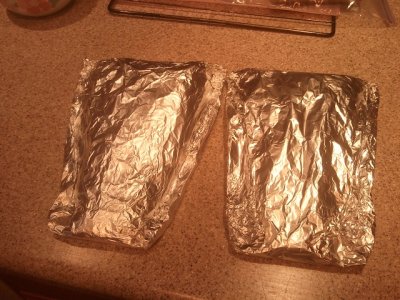
Wrap the plastic wrap and foil tightly around the fish. This will contain any oils or juices that may escape from the curing process. Place on large enough pan to contain the fish and some juices that will escape.
2. Cure the Salmon: Refrigerate the salmon for 4 or more hours depending on thickness of fillets. This might take you a time or two to get a feel for it. I don't recommend any longer than 12hrs though. The thin parts will tend to toughen up a bit but they make for a tasty little snack after trimming off the rest for serving after the smoking.
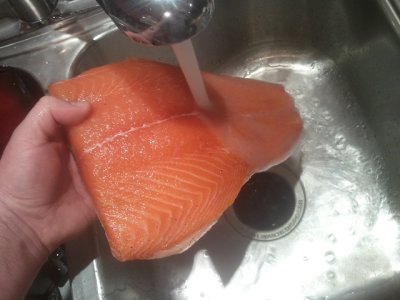
3. Rinse the Salmon: When the salmon has cured, remove the fish from the fridge and unwrap the foil. You should be greeted to a bright, juicy red piece of fish. Thoroughly rinse off the fish under cold water, making sure to wash off any of the cure that hasn't absorbed into the fish.
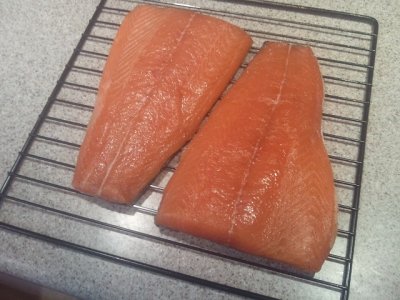
4. Dry the Salmon: Allow the fillets to dry at room temperature for one to three hours to form the pellicle. This is a thin, dry, matte-like film on the surface of the fish that helps the smoke better adhere to the meat.
6. Prepare the Smoker: Prepare your smoker as the fish finishes drying. You want your smoker to maintain a temperature of 150-160°F.
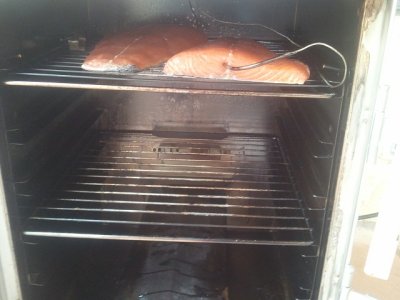
7. Smoke the Salmon: Lay the salmon fillets side-by-side in your smoker, skin side down. Depending on how many pounds of fish you're cooking and the thickness of the fish, the smoking process can take anywhere from 1-3 hours. Cooking is complete when the salmon registers 140°F at its thickest point.
8. Rest the Salmon: Once the fish reaches 140°F, take it off the smoker and put it on a baking sheet. Tent with foil and allow the fish to rest for 20-30 minutes. This will allow the finish to warm up another 5 degrees and let the muscles relax and juices to redistribute.
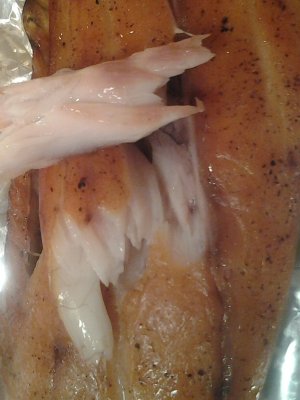
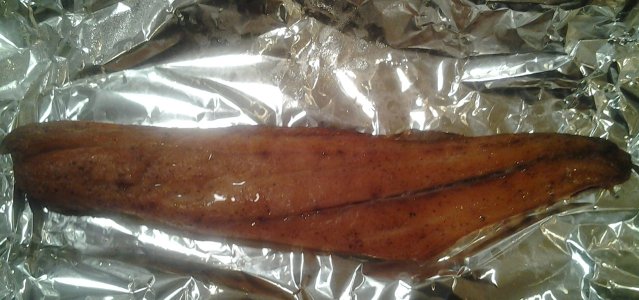
9. Enjoy the Salmon: Finally, remove the tented foil and serve your flaky and juicy creation. The un-seasoned salmon is deliciously mild and delicate, with a clean fresh salmon taste you can only get through smoking.
I use a 2-3oz of apple wood for my smokes. I don't use the cold plate since I am actually cooking the fish. I do place an aluminum pan under the fish with a small amount of water to keep things nice and even. The other part of this recipe called for a rub on top of the fish prior to smoking but I found everyone enjoyed the plain salmon more. So I have excluded it.
Attachments
-
 IMG_20130126_170004.jpg127.8 KB · Views: 477
 -
 IMG_20130127_105428.jpg96 KB · Views: 511
 -
 IMG_20130127_105305.jpg139.3 KB · Views: 470
 -
 IMG_20130127_004152.jpg93.3 KB · Views: 481
 -
 IMG_20130127_004056.jpg137.5 KB · Views: 457
 -
 IMG_20130127_003951.jpg188.2 KB · Views: 487
 -
 IMG_20130126_170516.jpg177.7 KB · Views: 458
 -
 IMG_20130126_170424.jpg136.6 KB · Views: 469
 -
 IMG_20130126_170304.jpg141.6 KB · Views: 485
 -
 IMG_20130126_170132.jpg133.8 KB · Views: 464

